You can use this drawing as a template by clicking on it to enlarge it and then hitting ctrl P. I drew it out and you will cut the large red outside edges out as one whole piece, then cut the yellow sides out as one piece then the middle piece out. So you will have three pieces when you are finished cutting out. The red pieces will be out of the same fabric and the yellow will be the coordinating fabric. I used a different piece of fabric for the stem than I used anywhere else.
Iron on seam a steam to your cut out pieces and straight stitch around the edges. Don't worry about staying exactly straight... It looks good a little messy. I also steamed the three pieces together and sewed around the "yellow" and around the center "red" piece so that all three pieces are together and ready before you put it on your shirt. I think it is easier that way.
So I am not typically a tutorial kind of person. Just not organized enough for it but I think I can do this with the help of a few other blogs. :)
who no longer has it listed. I changed a lot of the instructions because I did mine differently but this tutorial is really easy to follow if you just do exactly what it says. :) I used red to show what I changed or did differently. I hope this isn't confusing.
Fabric: a total of 1 1/2 to 2 yards of cotton of your choice (plenty for girls’ sizes), for a lady’s skirt you will have to do some simple math based on the dimensions of the strips we calculate in a bit; I’d say 2 1/2 yards should be plenty, but don’t hold me to that!I used 1 yard for the top and bottom layer and 3/4 a yard for the middle layer. This left me some for the pumpkin as well. Thread
3/4″ wide elastic (enough to fit comfortably around waist plus a few inches) dont make it too big or it wont stay up! :)
Notes
All seam allowances are 5/8″.
The things I did differently are in red and I didn't really care too much about the seam allowances and it came out fine. I also never serge my fabric or baste all that much except to gather the material. Feel free to do it how you would like.
Measuring
To begin, you will need to determine the dimensions of the strips you are going to cut.
Step 1: Measure the waist and hips (in inches) of the intended wearer. Choose the larger of the 2 measurements, we will call this number “A”. You also need to determine the desired length of the finished skirt, so measure from the waist to where you want the hem to land; you will divvy up this number into three for the different length panels. I chose a 12" length so I had B = 4, 6, and 2 (tier 1, 2, and 3 respectively). (you can do a little rounding here to make your life easier, maybe choose the closest 1/4″ or 1/2″ increment). Call this number “B”.
For example: kaylen has a waist measurement of approximately 23″ and the finished skirt should be about 12″ long.
A=23 B=4, 6, and 2 (tier 1, 2, and 3 respectively)
Step 2: (sorry to bring algebra into the picture) You know that wasn't me doing that!
(A x 1.5) + 1.5 = _____ “C”
Again, you can round your answer a little, this is not an exact science.
Example:
C=36
Step 3: You will cut 2 strips to make the top tier.
C divided by 2 = ____ width of each strip
B + 2 = ____ height of each strip
Example top tier: width=18″ height=6″
Step 4: You will cut 2 strips to make the middle tier.
C multiplied by 1.5 = ____ then divide your answer by 2 to equal your width ____
B + 1.25 = ____ height of each strip
Example middle tier: width=27″ height=7.25″
Step 5: You will cut 2 strips to make the lower tier. Cut these strips to the same dimensions as those in Step 4. Except the height will be, B+1.25=___ height of each strip using your B for tier 3 number instead of tier 2.
Example lower tier: width 27" height= 3.25"
Her pictures will vary from my final because I didn't have two scrunched layers... the bottom layer was more of a bottom border and was the same width as the middle tier... just a smaller height.
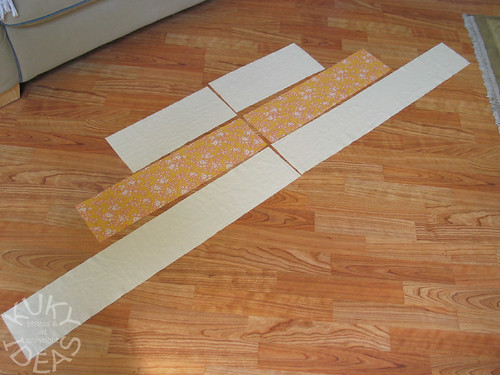
Now we have all of our pieces and are ready to start sewing!!
Sewing the Skirt
1. With right sides facing each other, sew the side seams together on each set of strips. Edge finish each of these seams with a serger if you have access to one, otherwise trim the seam allowance to about 1/4″ and zig-zag stitch to keep your raw edges from unraveling. You now have 3 “loops” of fabric, one for each tier. (I never do this, I just sew it together and let it unravel a bit. After it washes I trim up the frazzles and all is well... but that's just me.)
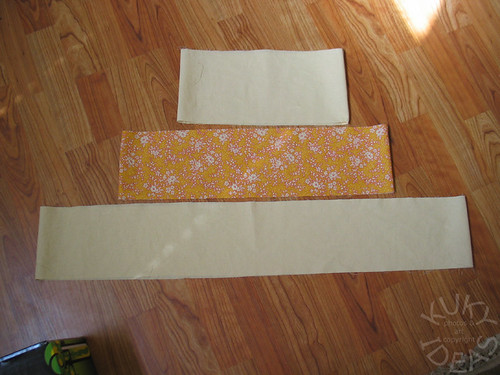
2. At this point, I like to go ahead and sew a narrow hem around the entire bottom edge of the lower tier. Press up 5/8″, open the fabric back out, and press the raw edge in to meet the first crease. Sew the hem.
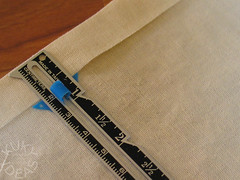
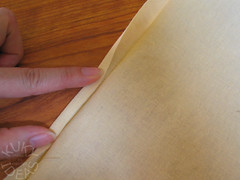
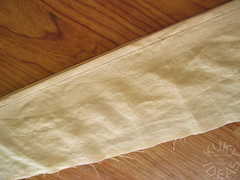
3. Edge finish the upper edge of the top tier, fold 1 1/4″ to the inside and press to form a casing for the elastic. Stitch about 1″ in from the fold almost all the way around, leaving a small opening to insert the elastic into later.
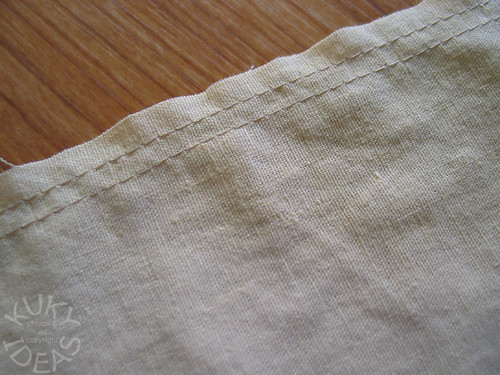
4. On the top edges of the middle tier (and with right sides facing out), sew a long machine basting stitch all the way around 5/8″ from raw edge and also 3/8″ from raw edge.(I don't measure this... I just do two rows of sewing as close to the top as I can without going off the fabric or touching my original sew line. )
5. Sew the bottom tier to the middle tier with right sides facing. On the middle tier, grasp the bobbin thread ends and start pulling gently to form gathers in the fabric. When the circumference of this edge matches that of the lower edge of the middle tier, stop and tie your bobbin threads together to keep everything in place. Then slide the gathers around until you are happy that they are distributed fairly evenly. (She ruffled the bottom tier as well as the middle but I had the bottom tier the same length and straight sewed them together and it formed a bit of a border. I think it looked better... but you be the judge.)

Update: I added some new pictures with a new skirt. Hope the different fabric doesn’t throw anyone off.
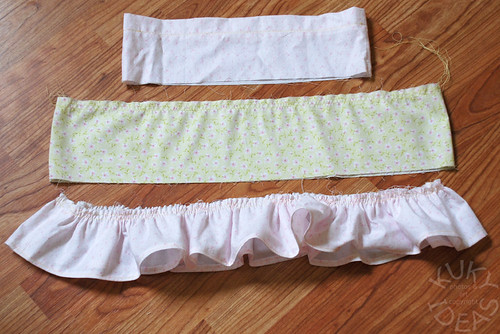
6. Flip the middle tier inside out so that the right sides (the outsides of your fabric) are facing each other and pin it to the top tier — the bottom edge of the top tier (the edge without the band for elastic) should match up to the top gathered edge of the middle tier and the right sides should be together. Now machine baste this seam. I machine basted at 1/2″ (again the whole sewing straight thing). I’m usually one that skips the basting steps, but, trust me, basting is your friend on this project! I also reduced the pressure on my presser foot for this step, don’t forget to readjust the setting after you baste. (I don't baste this... hehe)
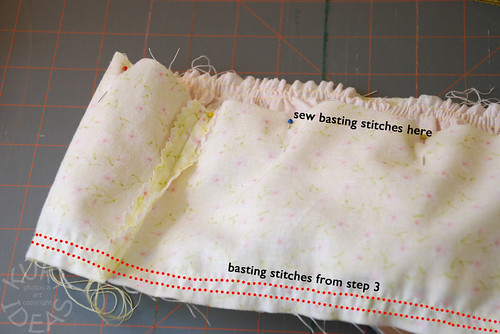
Now you can flip it right side out and check your gathers. Don’t worry if you see the basting stitches from where you gathered the bottom tier. When you sew the seam at 5/8″ you won’t see them anymore.
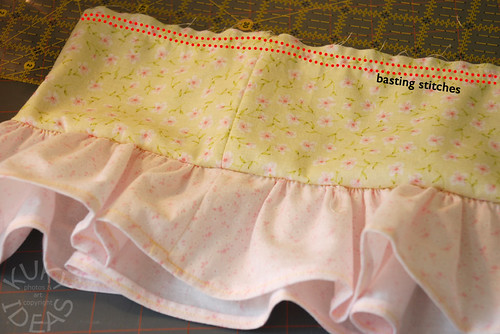

7. Now serge or sew the seams you just basted using a 5/8″ seam allowance (trim and finish your edges if you used a regular sewing machine for this step). (I don't do this either)

9. Thread your elastic through the top casing. I like to use a big safety pin to help me work it through. Adjust the elastic to comfortably fit waist. Overlap the ends and sew them together (I used several rows of zig-zag stitch and zig-zag back-stitching for security). Using a straight stitch, sew the opening of the waistband casing closed.
You’re Done!
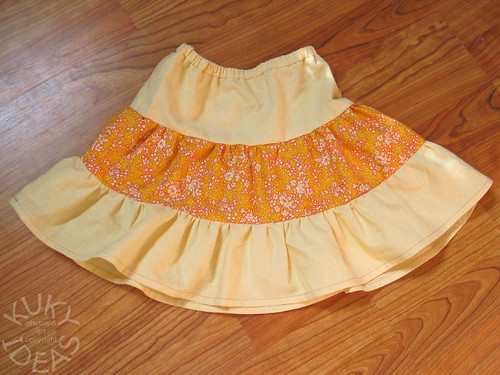
YAY! And that was 3 Peas tiered skirt tutorial. Too bad I don’t have her pictures. I’m sure she had more pictures showing everything in more detail then what I did. But her directions are quite clear and it was quite simple to make this skirt. It was totally awesome of her to share her tutorial! Thank you 3 Peas!
 Then you tuck the strap in and use these small straps to clip on to the stroller.
 Here is an example of what it looks like size wise for easy carry. Fairly simple!


